AI Coding for Dummies
A practical guide to models, chatbots, harnesses, agents, APIs, and building an AI coding workflow.
About a year ago, I started taking LLM-assisted development seriously. The main problem was not a lack of information. It was that, in a field evolving this quickly, it was hard to find material that would not become obsolete within a few days and did not take far too many things for granted, starting with the meaning of the terms themselves. Words such as agent, harness, and reasoning are thrown around casually, but they have precise meanings.
In this post, I want to write a very down-to-earth and pragmatic guide to understanding this technology and building an agent-based workflow, starting with what an agent actually is. The only thing I assume is some familiarity with chatbots such as ChatGPT.
The limit of a web chat alone
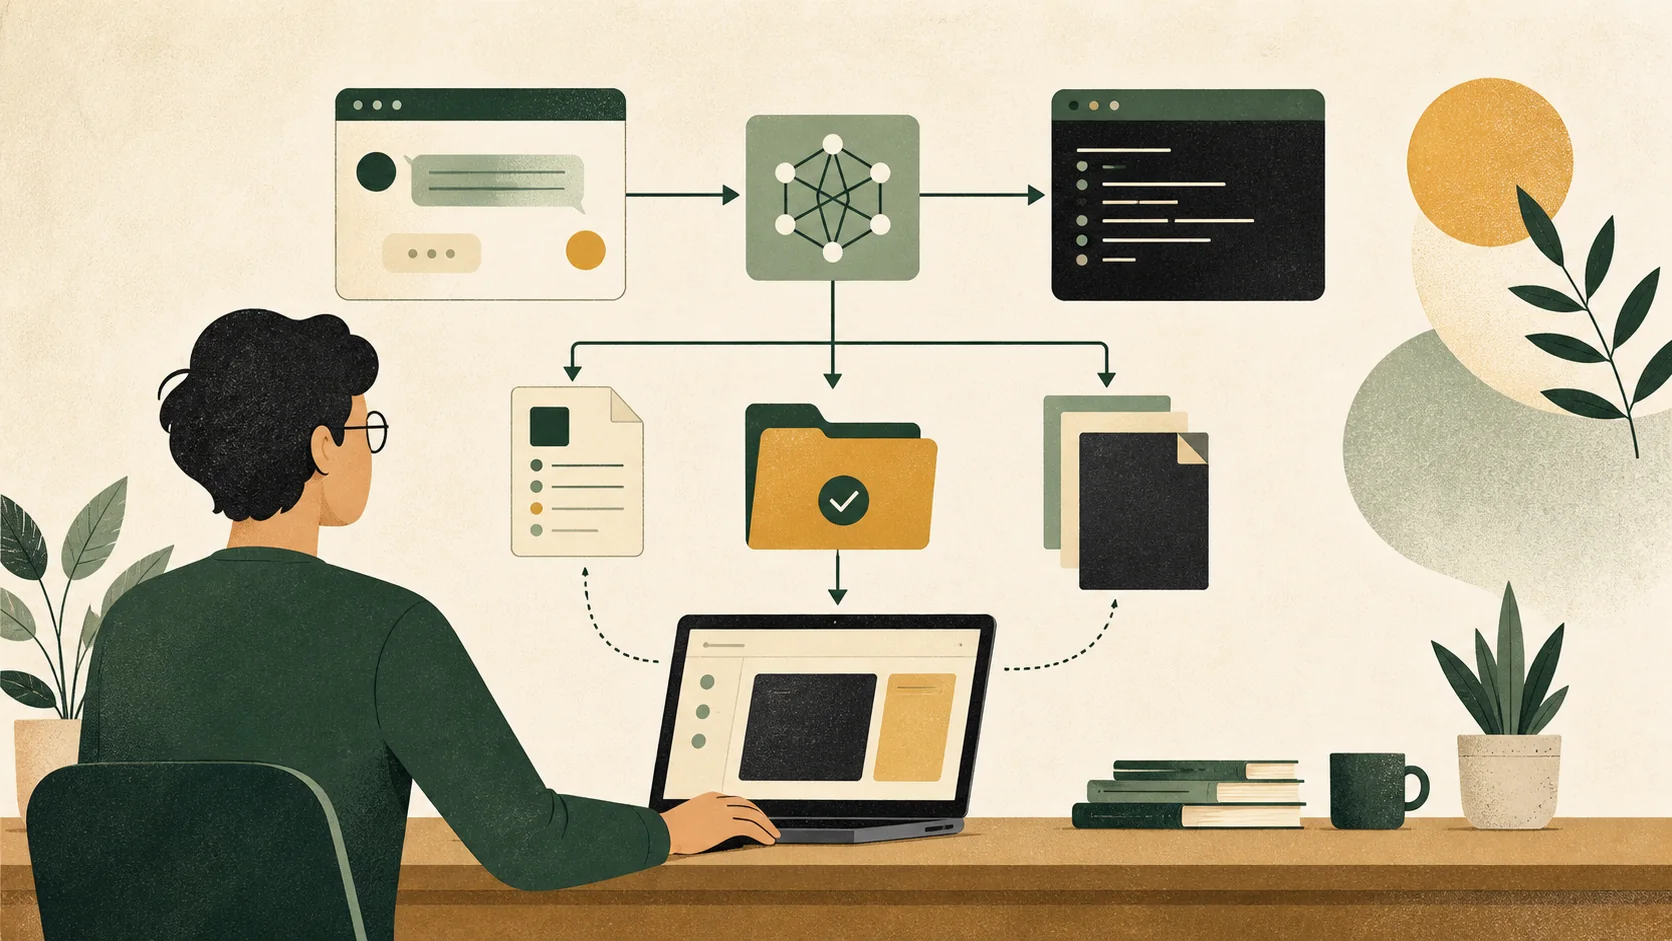
Chat is an excellent interface for many things. Asking for a recipe, getting a list of places to visit in a city, having a text corrected, and so on: these are all tasks that can be completed entirely within a chat. They do not require interaction with your computer or external services. The limitation becomes clear when you ask for actions that require deeper integration with your system. Creating a file is a trivial example. With chat alone, the language model has no tool for performing concrete actions on your computer.
The point is that chat is only one possible interface. Behind that window is a language model that, once the UI is removed, can be called in many other ways: from a script, a code editor, or an agent that reads and modifies files on your computer.
The minimum vocabulary you need
Before going any further, it is worth clarifying a few terms:
Language model, LLM
The "engine" that predicts the next piece of text. On its own, it does nothing except generate tokens.
Chatbot
A web interface that sends your messages to the model and displays its response. ChatGPT, Gemini, and Claude.ai are chatbots.
API endpoint
An address to which you can send HTTP requests to interact with a model from code, without using a graphical interface.
Harness
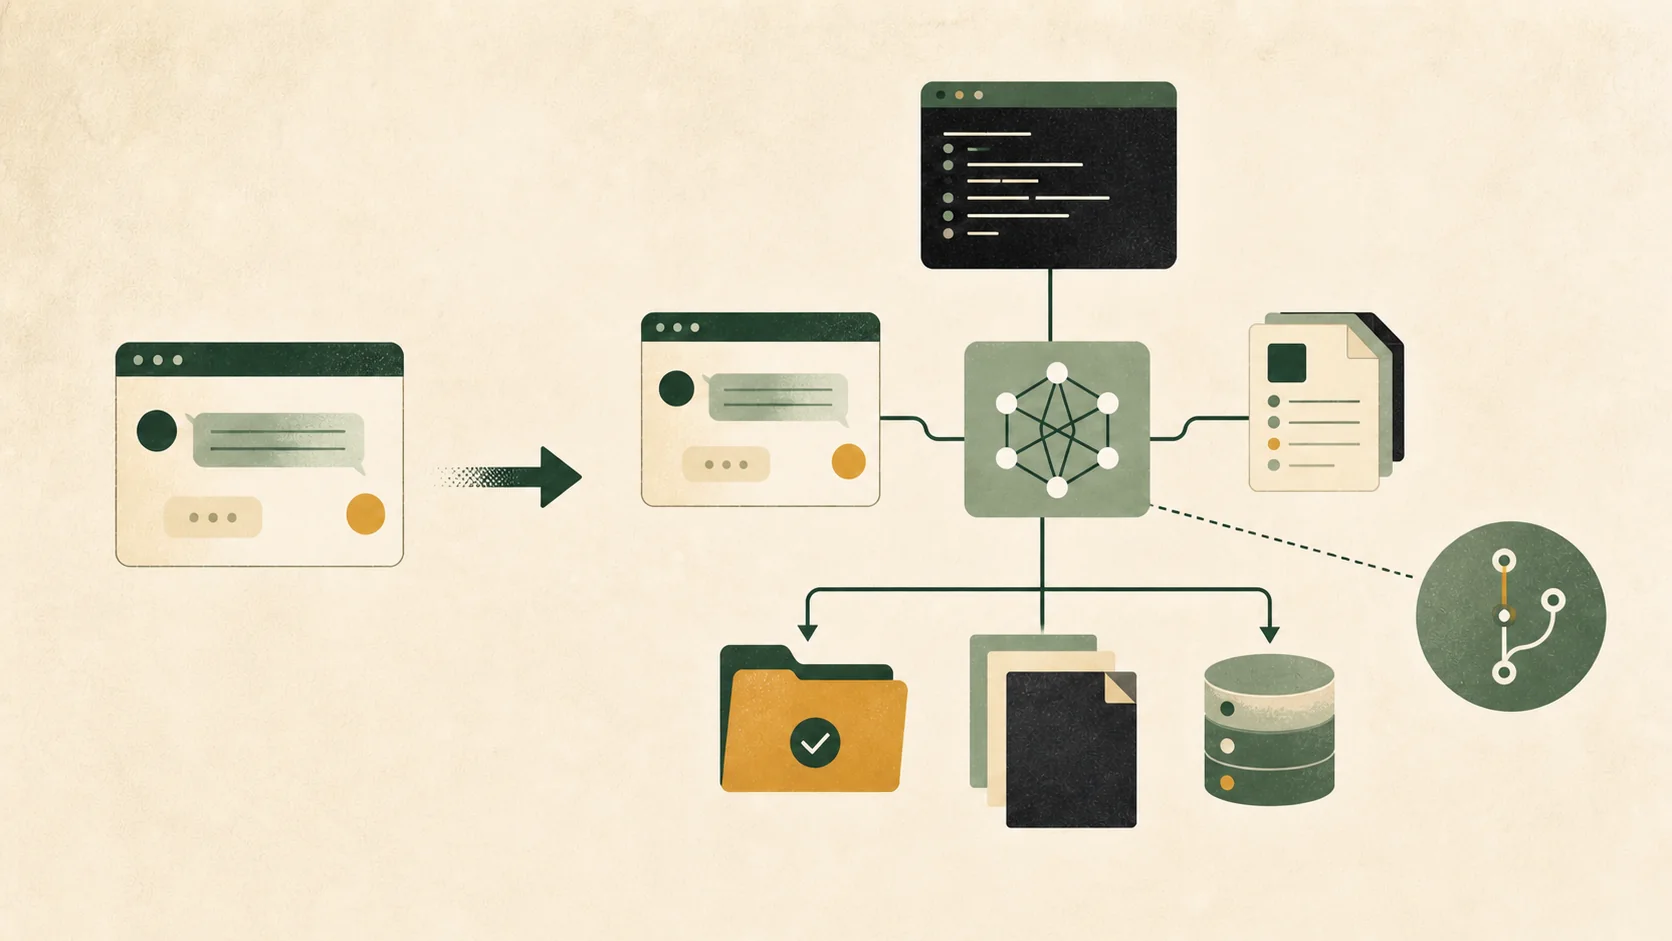
The software environment around the model that gives it access to concrete tools: files, a terminal, repositories, and project context, together with a loop that manages messages, tool calls, and session state.
Agent
Model + harness.
Reasoning
The reasoning performed by the model before producing its final answer. In many models, it can be adjusted to balance quality, speed, and cost.
The most useful distinction to remember is this: a chatbot and an agent can use the exact same model. What changes is the entire execution loop built around it.
What is a harness?
The key point is that the harness is not the model. It is the runtime that manages messages, tool calls, state, context, and the execution loop around the model. With the same model, the quality of this runtime can make a substantial difference to the practical results of a coding agent. Examples of harnesses include Codex, Claude Code, Copilot, and OpenCode.
The article The Emperor Has No Clothes: How to Code Claude Code in 200 Lines of Code shows how a working coding agent can be written in only a few lines of Python. At the center of the harness is this loop:
- you send a message to the model (“create a file containing a hello world function”);
- the model decides that it needs a tool and responds with a structured call;
- your program executes that call locally, actually creating the file;
- the result is returned to the model;
- the model uses that result to continue or provide an answer.
To make this loop even more concrete, here is what a real exchange might look like, including the tool call:
User: What files are in this folder?
Model: Okay, I’ll check by running “ls -a”
<bash-call>
ls -a
</bash-call>
— Tool call response —
ls -a
file-1.txt
file-2.txt
–––––––––––––
Model: In the folder I found these files:
- file-1.txt
- file-2.txt
This exchange shows the three layers defined above working together. The model decides what to do and generates the tool call (<bash-call>ls -a</bash-call>), but it cannot execute it on its own. The harness intercepts that call, executes it on the actual filesystem, in this case by running ls -a, and returns the result to the model as a tool call response. The agent is the behavior that emerges from this repeated loop: after seeing the result, the model decides on the next step by itself. For example, it could read the contents of the files before answering instead of stopping at the first available response.
In other words, the model never touches your filesystem directly. It simply asks the harness to execute tool calls.
Harnesses such as Claude Code add error handling, streaming, more sophisticated context management, and approval workflows to this core, but the underlying architecture remains the same.
Endpoints and APIs: the model as a component
Using a model through an endpoint means integrating it into scripts, applications, workflows, or automations instead of using it only through a web chat. In practice, you send an HTTP request containing messages and receive a response.
This is a good place to introduce OpenRouter. It provides a single endpoint for calling models from different providers while using the OpenAI API format. The practical advantage is that you can change the model without changing the structure of the request: messages, model, and any other parameters remain the same.
To try the example, create a project with uv and add the requests library:
uv init openrouter-example
cd openrouter-example
uv add requests
The main.py file only needs to contain this:
import os

import requests

response = requests.post(
    "https://openrouter.ai/api/v1/chat/completions",
    headers={"Authorization": f"Bearer {os.environ['OPENROUTER_API_KEY']}"},
    json={
        "model": "deepseek/deepseek-v4-flash",
        "messages": [
            {"role": "user", "content": "Write a hello world function in Python"}
        ],
    },
)
I want to mention this service not only because it is convenient, but also because it offers several free models. They are not the best in terms of response time, but they are extremely useful for proofs of concept and simple experiments. They let you get your hands dirty at the code level without spending a fortune.
Speaking of money… The best-known models, such as Anthropic’s, can cost anywhere from a few cents to a few euros for a single request. Some models are more cost-efficient than others, so it is worth checking the pricing table before burning through your credits in a handful of calls.
For a concrete comparison between two models (prices as of writing):
- DeepSeek V4 Pro by DeepSeek: $0.87 per million input tokens and $1.74 per million output tokens.
- Claude Opus 4.8 by Anthropic: $5 per million input tokens and $25 per million output tokens.
The substantial difference shows why model choice is as much an economic decision as a technical one.
Coding agents: what actually changes
Coding agents (harness + model) are a practical evolution of the chatbot. They do not simply produce code inside a window: they can work in a repository, read files, propose changes, run tests, fix errors, and pursue an objective across multiple steps.
I want to stress that an agent is simply a tool we can use to build a project. It is not a replacement for a programmer just because it can write code.
A concrete workflow: code plus project knowledge
A simple workflow is based on two elements: a repository containing the code and a folder, either inside or outside the repository, containing operational documentation, naming conventions, previous decisions, glossaries, requirements, and constraints. This knowledge becomes a resource the agent can consult. It can therefore work not only from the individual prompt you send, but from a much richer project context. This is a pragmatic project knowledge base: no complicated theory is required, only well-organized and up-to-date documentation treated as real project infrastructure.
To make this more concrete, this is the process I normally follow when starting a new project:
- Collect requirements: what the project must do and its technical and business constraints.
- Gather useful documentation: naming conventions, existing structures, previous decisions, tribal knowledge, and anything else that prevents the team from reinventing established patterns.
- Find similar repositories: when similar projects exist, collect their references. They provide concrete examples of the code structure and style the agent should follow.
- Create an
AGENTS.mdfile: once I have gathered everything, I save it in anAGENTS.mdfile that acts as an index for the agent, with sections such as “similar repositories,” “reference documentation,” “technical requirements,” and “operational context.” - Split responsibilities between models: with this context ready, I normally use a frontier model such as Opus for planning. It reads the collected material and turns it into a work plan. I then use a less expensive model such as Sonnet to write the code by following that plan. The next section explains how to choose a model.
- Build in automatic feedback: the agent must be able to verify its own work instead of depending on your manual judgment every time. After generating code, it should run checks, even something as simple as unit tests or a build command, to determine whether its output actually works. If a check fails, the agent can fix the problem and try again. If it passes, the agent can move on. This automatic feedback does not replace human review, but it reduces the number of times you have to discover manually that something is broken.

One useful addition to this workflow is that, whenever a repetitive task emerges during development (for example, creating functions with the same structure or generating a specific kind of test), it is better to turn it into a dedicated skill than to rewrite the same prompt instructions every time. The skill standardizes how the task is performed. Over time, AGENTS.md can simply point to it whenever that kind of work reappears instead of explaining everything from scratch.
Another important point is that you do not need complicated steps or additional plugins in the harness to get better help. Harnesses such as GitHub Copilot and Codex have evolved significantly, and the simplest solution is often the best: talk directly to the interface. Use short prompts, correct the model’s wrong assumptions, and treat project context files as lightweight steering documents containing philosophy, vocabulary, constraints, and recurring corrections instead of enormous manuals.
What really matters today is giving the agent focused and useful context: be as precise as possible about what you want to achieve and about the project’s rules. Once that context is in place, you can simply tell the agent what to change or build in direct language.
How to choose a model
A question I often asked myself at the beginning was: which model should I use? Here are a few practical criteria:
- Model size: larger models tend to be more capable on complex tasks, but they cost more and are slower. For simple tasks (summarization, grammar corrections, and small text transformations), a small model is often enough.
- Low, medium, or high reasoning: many recent models expose an adjustable reasoning mode. A higher level gives the model more compute before it responds. This can help with logical problems or complex debugging, but it costs more tokens and takes more time. For direct questions, low reasoning is often sufficient and much faster.
- Tokens and cost: models are billed per token, meaning pieces of text rather than exact words. Input and output almost always have different prices. Output usually costs more because the model generates it one piece at a time. A long prompt with a short answer has a different cost profile from the opposite.
- Subscriptions: companies such as OpenAI and Anthropic offer subscriptions that can be competitive with direct endpoint usage when you work interactively and frequently.
- Benchmarks: benchmarks can help you compare models (Terminal-Bench is one example for coding), but they do not always reflect real-world use. The only way to know whether you like a model is to try it.
As of writing, Anthropic and OpenAI organize their model families according to a similar logic:
| Family | Small and fast | Everyday balance | Frontier model |
|---|---|---|---|
| Anthropic / OpenAI | Haiku / Luna Simple, fast, repetitive, high-volume, and low-latency tasks. |
Sonnet / Terra Everyday coding, tool use, and agentic work. |
Opus / Sol Planning, architecture, review, and complex multi-step problems. |
In more structured workflows, it is common to use the frontier model only for design and review while leaving the actual execution to the intermediate model. This saves tokens without sacrificing too much quality where it matters less.
The reasoning mechanism follows the same principle: the higher the level, the more tokens and time the model spends before producing an answer. It therefore makes sense to increase it only when the task justifies the cost.
Skills and progressive disclosure
Skills are specialized instructions, procedures, or capabilities that an agent can load when needed: a kind of playbook that the model reads only at the right moment instead of keeping it in context all the time. A typical skill header briefly explains what the skill does and when it should be used. This allows the agent to decide whether it is relevant before reading the entire file.
This mechanism is called progressive disclosure: instead of loading all available context at all times, you expose specific instructions only when they become relevant. Simple examples include a skill for translating text, one for converting PDFs into Markdown, or one for preparing a technical document in a particular format. To create one, you can simply talk to the agent, which usually has a parent skill for creating other skills. Skills can be local to a project or global across all projects.
A minimal example might be a skill for translating technical text from Italian into English while preserving a professional but direct tone. Its folder could contain a single file:
technical-translation/
└── SKILL.md
The SKILL.md file could look like this:
---
name: technical-translation
description: Translates technical texts from Italian into English while preserving a professional, clear, and direct tone.
---

# Technical translation

1. Preserve the original technical meaning.
2. Use natural English rather than a literal translation.
3. Keep variable names, commands, and code blocks unchanged.
4. Avoid overly formal wording and sentences that sound artificial.
The header lets the agent understand when the skill is relevant. The rest of the file contains instructions that are loaded only when needed. If a recurring mistake appears later (for example, an internal project term is translated incorrectly), you can add a rule or a small glossary to the same skill.
A word of caution: installing random skills from the internet is not a good idea. Add them only when there is a real need. In some cases, a skill can make the agent’s output worse by adding noise to the context. The right approach is to compare the agent’s behavior with and without the skill and introduce specialized instructions only when they actually help. Add skills, project rules, or automations after observing a recurring mistake, not by installing a huge library in advance. Often, the bare model without additional skills is already more than enough.
Beyond coding
These tools are not useful only for programming. In my daily routine, I also use them to:
- write and review documentation;
- act as an editorial critic for something I have written;
- translate;
- prepare article drafts, including this one, which started as voice dictation converted into text;
- create presentation drafts;
- generate charts and diagrams;
- create images;
- organize scattered notes;
- explain a project more clearly to someone unfamiliar with it;
- turn voice transcripts into usable text;
- build small automations for everyday study and work.

An agent or model is not just a code generator. It is an operational assistant for many everyday activities, most of them mundane but useful.
A brief look at more advanced topics
Some topics fascinate me, but I deliberately left them out of the core of this article because, for someone starting from zero, they can sound like hype or unnecessary complexity: spec-driven development, more structured plugins for agentic workflows, and MCP (Model Context Protocol, a standard for giving agents access to external tools and data).
It is also worth briefly mentioning persistent agents such as OpenClaw and Hermes Agent. These frameworks keep an agent running continuously rather than only inside a single chat or terminal session. They have their own memory and skills and can be reached through Telegram or other messaging platforms. They are interesting projects to watch, but they are not the right starting point if you are not yet familiar with the basics covered above.
Homework
The purpose of these exercises is not simply to try a few tools. It is to follow the entire flow described in the article: call a model, use it through an agent, and finally add reusable context and instructions.
Call a model through an API
- Create an account on OpenRouter.
- Create an API key and set a spending limit.
- Save the key on your computer as an environment variable. Never put it directly in the code or commit it to a repository.
- Run the Python script from the article and send a request to
deepseek/deepseek-v4-flash. - Change the value of
model, repeat the same request with another model, and compare the response, time, and cost.
Build a small project with a coding agent
- Install Pi Agent and configure a provider such as OpenRouter.
- Create an empty repository and build a small project through vibe coding. It could be a to-do list CLI, a file converter, or a small web application.
- Let the agent write the code, but always review the changes, run the program, and define at least one test or verification command that proves the project works for an automatic feedback loop.
Add context and a skill
- Create an
AGENTS.mdfile with a short project description, conventions, verification commands, and the main constraints. - Give the agent a task and observe how it uses this information.
- Create a skill for a repetitive activity using the format supported by your chosen agent.
- Repeat the same task first without the skill and then with it.
- Observe when the skill is loaded and how it changes the harness's behavior.
Write a report
Add a short README.md to the repository covering:
- the tools and models you used;
- the initial prompt;
- the checks you ran;
- the approximate cost of cloud requests;
- the effect of
AGENTS.mdand the skill; - the errors you encountered and the fixes you applied.
Closing thoughts
I wrote this post because so much knowledge about AI coding is currently scattered across Twitter X, YouTube, and blog posts published almost at random. It is difficult to keep track of everything, and I certainly do not have a complete picture either, despite trying to stay informed every day.
What I want to say, however, is that although this field may appear extremely complex (and it is genuinely vast), the tools and workflows themselves are understandable. As software such as Codex evolves, these tools will be used increasingly not only by programmers but also by people who do not work specifically in software development. This is also the direction taken by the major companies: reaching not only engineers, but a much broader audience, as OpenAI’s latest releases demonstrate.
I hope you enjoyed this article and that it helped you take your first steps or continue along this path. I am convinced that this is the right direction and that artificial intelligence is simply another tool we need to learn how to master.
References and useful sources
Harnesses and coding agents
- How does Claude Code actually work?: video by Theo (t3.gg)
- The Emperor Has No Clothes: How to Code Claude Code in 200 Lines of Code
- Claude Code’s creator has some really good advice: a video by Theo (t3.gg) about a post by Boris Cherny
- Agent Harness explained in 8min: Caleb Writes Code
- From Vibe Coding to Agentic Engineering: Andrej Karpathy
- Pi Agent
- OpenCode
- OpenClaw
- Hermes Agent
- The New SDLC With Vibe Coding: From ad-hoc prompting to Agentic Engineering: Google, June 2026
APIs and models through endpoints
Models, tokens, and inference
- LLMs 101: Ahmad Osman
Content creators and sources worth following
This section collects the sources worth following. Rather than a properly organized list (much of the AI coding conversation is fragmented across X/Twitter, YouTube, and Hacker News), here are the people and labs I follow most often.
Among developers, educators, and researchers, the people I follow are:
- Salvatore Sanfilippo (antirez): YouTube, X/Twitter, and GitHub
- Theo (t3.gg): YouTube and X/Twitter
- Ben Davis: YouTube and X/Twitter
- Caleb Writes Code: YouTube
- Andrej Karpathy: YouTube and X/Twitter
Alongside individual creators, it is also worth following the labs and companies that publish models, technical documentation, and research papers directly:
- DeepSeek: official website, X/Twitter, and GitHub
- Moonshot AI (Kimi): official website and X/Twitter